The raw power of the wind demands your respect. Stinging sand and rocks whip your bare legs and face. The volcanic caldera at the end of the Quilotoa Loop in Ecuador taunts you — give up! You are exhausted. Give up and sleep on my cliffside. Retreat and retrace your steps back to Chugchilan...
Breathing demands concentration. Air evades us.
We have already walked for 6 hours — slowly, steadily, one foot in front of the other. I can touch the sun from the peak on which we stand. Its heat is in stark contrast to the cold wind engulfing us. A headache sets in. Am I windburnt, sunburnt, perhaps both?
A forcible gust of wind comes into earshot, swelling its way up the Quilotoa cliffside. Its sound more ferocious than the others, like someone wobbling a steel sheet faster and faster next to my head.
The gust takes Sarah four feet to her side. She leans in with all her weight to remain upright. We deem it wise and welcome to interlock arms, meticulously placing each foot in front of its partner in unison.
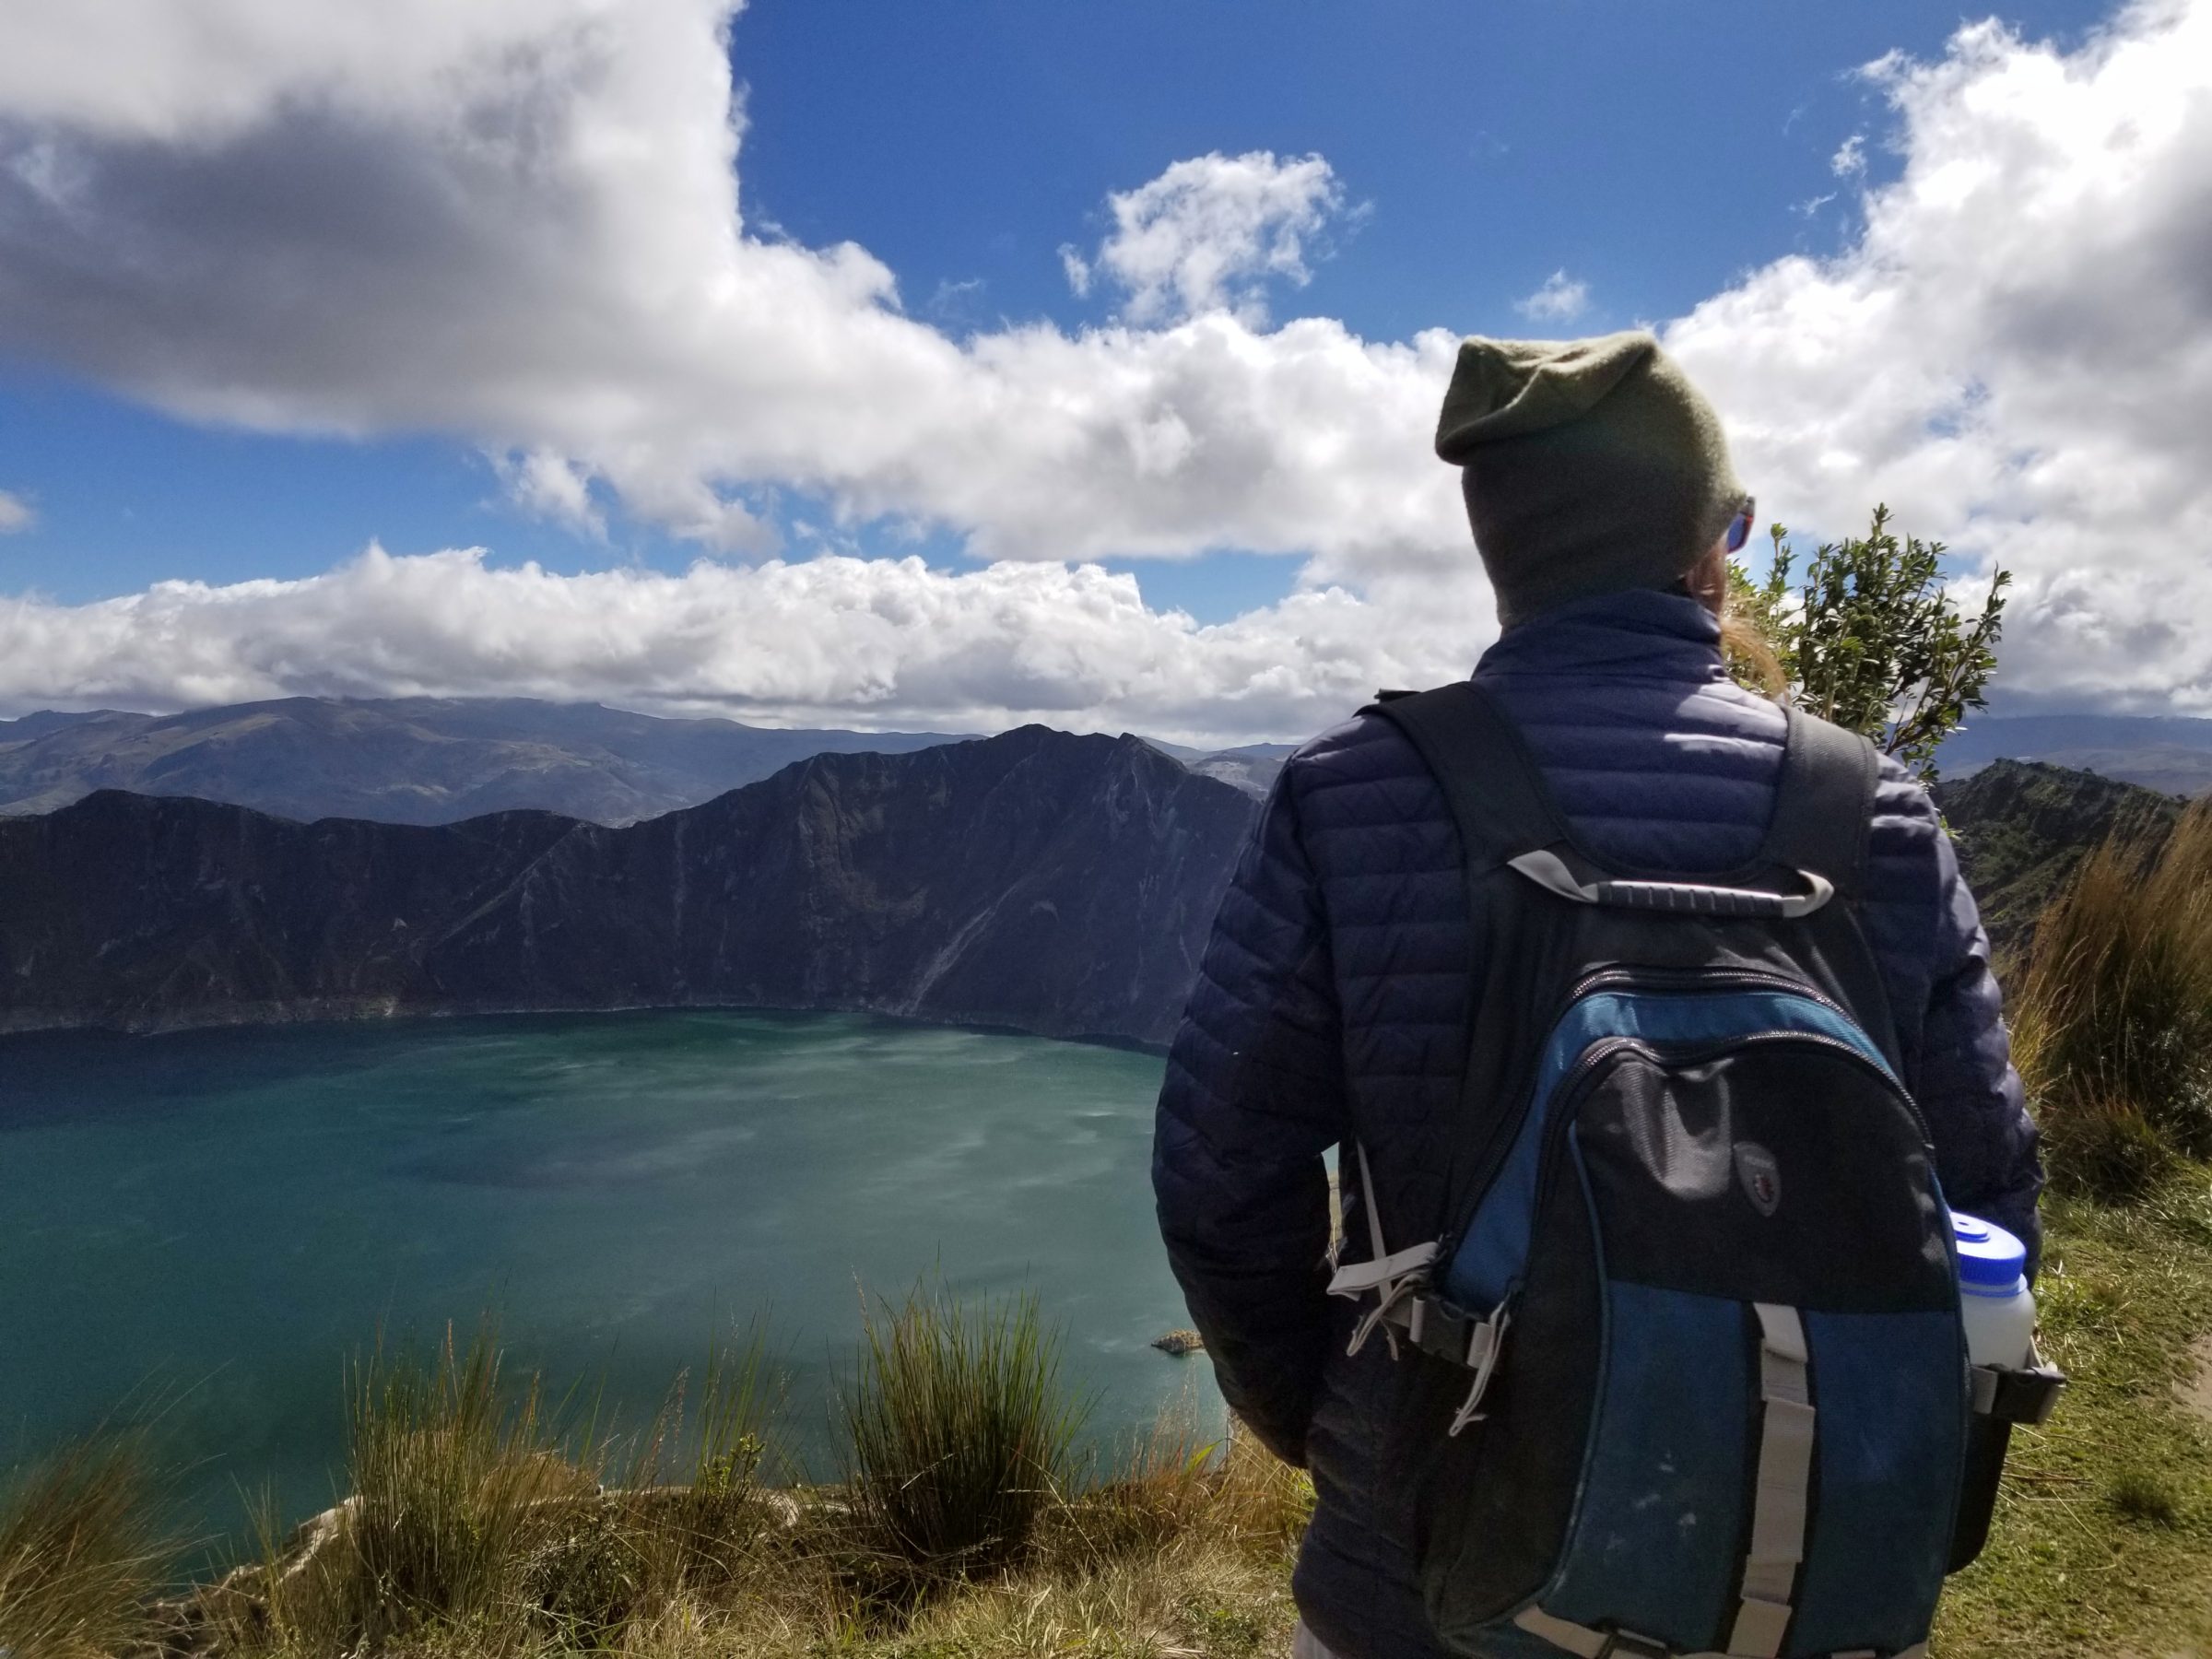
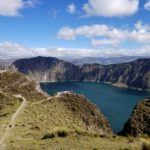
We repeat this process three more times, each more difficult than its predecessor. Then it finally comes into view — Quilotoa, Ecuador — a small Andean town on the edge of a volcanic caldera, offering us safety and refuge at the end of our three-day hike.
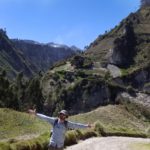
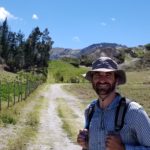
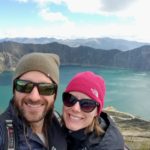
Jimmy and Sarah complete the 3-day Quilotoa Loop hike in Ecuador.
Table of Contents
Quilotoa Loop Downloadable Map
If you plan to hike the Quilotoa Loop, we recommend downloading the free Maps.Me app for Android or IOS. It allows you to download an offline map of the area, as well as our hiking route with 41 helpful bookmarks. Download our route for free here. This will make hiking between Sigchos, Isinlivi, Chugchilan and Quilotoa a breeze.
Locals in the Ecuadorian countryside were kind and helpful, pointing out the direction of the trail when we were unsure. Sarah and I thought it was so cool when we would receive the trifecta of “hellos” from a passing car: the driver would give a hushed honk, one passenger would wave, and another would yell “Hola!” with a big smile.
Also, each hostel along the Quilotoa Loop gladly provides you with printed directions for making it to your next destination. Although we found some to be more confusing than when we used Maps.Me.
The Bus from Latacunga to Sigchos & Hiking Sigchos to Isinlivi (Day 1)
With Sarah being the early riser that she is, we made our way to the bus station at the crack of dawn 10 AM. Buses leave pretty regularly until 10:30 AM, but then leave every couple of hours after that time. We grabbed a slice of pizza at the station to fuel up for the 2-hour ride to Sigchos.
A weird thing we noticed — the bus ride was hot but no locals seemed to realize it. How everyone could wear coats and keep their windows closed, we had no idea.
Upon arrival in Sigchos, we stopped at the local market near the town center to scope the produce and use the restroom. This is a good spot to pick up some snacks for your day.
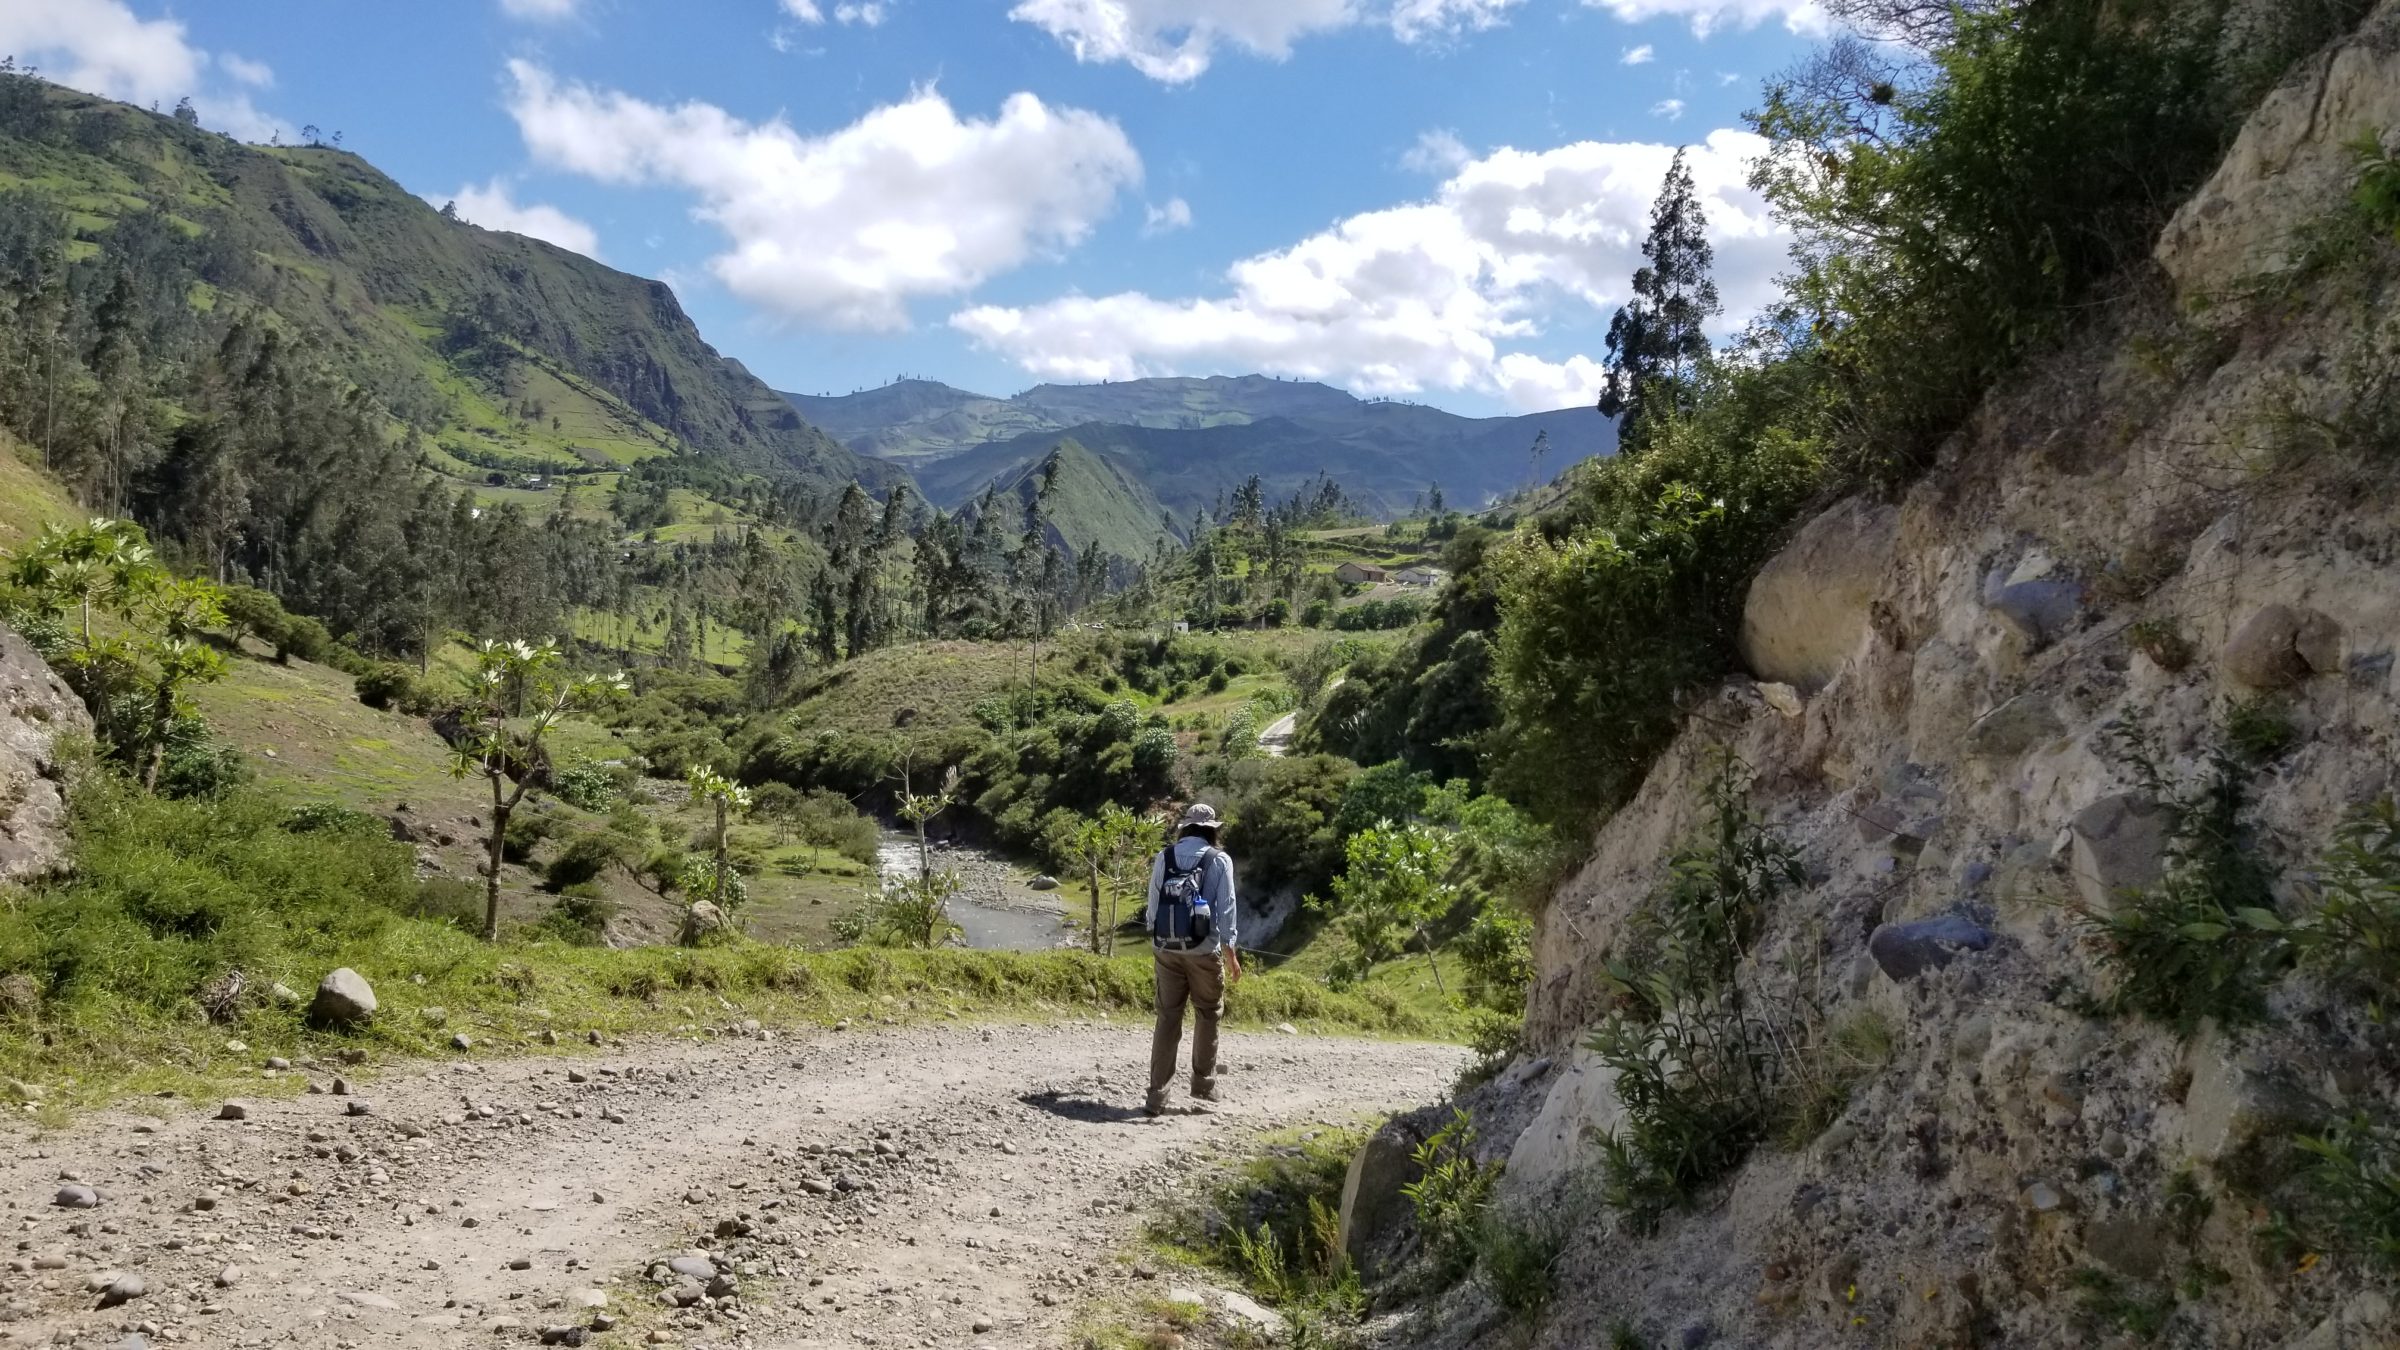
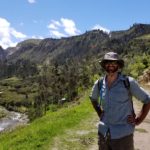
We started our hike at the Northwestern edge of town, our legs fresh and spirits high! We spent about 4 hours walking and took lots of pictures.
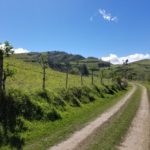
The trail to Isinlivi was very well-marked, with only a couple exceptions. We added these to our Maps.Me route.
Isinlivi Hostels:
Hostal Taita Cristobal We chose this hostel because it was the cheaper of the two options at $15 per person for a private room, in-suite bathroom, breakfast and dinner. We enjoyed the cozy dining and lounge area at night and the excellent views during the day.
Llullu Llama This place is a favorite among the travelers because they have yoga, a jacuzzi and sauna. It is also more expensive at about $25 per person for a private room, in-suite bathroom, breakfast and dinner.
PRO TIP: Most hostels along the Quilotoa Loop include dinner and breakfast in the cost.
They also offer a packed lunch for $3 or a sandwich for $1. We purchased $1 sandwiches to eat during our hike each day since we brought our own snacks.
Hiking Isinlivi to Chugchilan (Day 2)
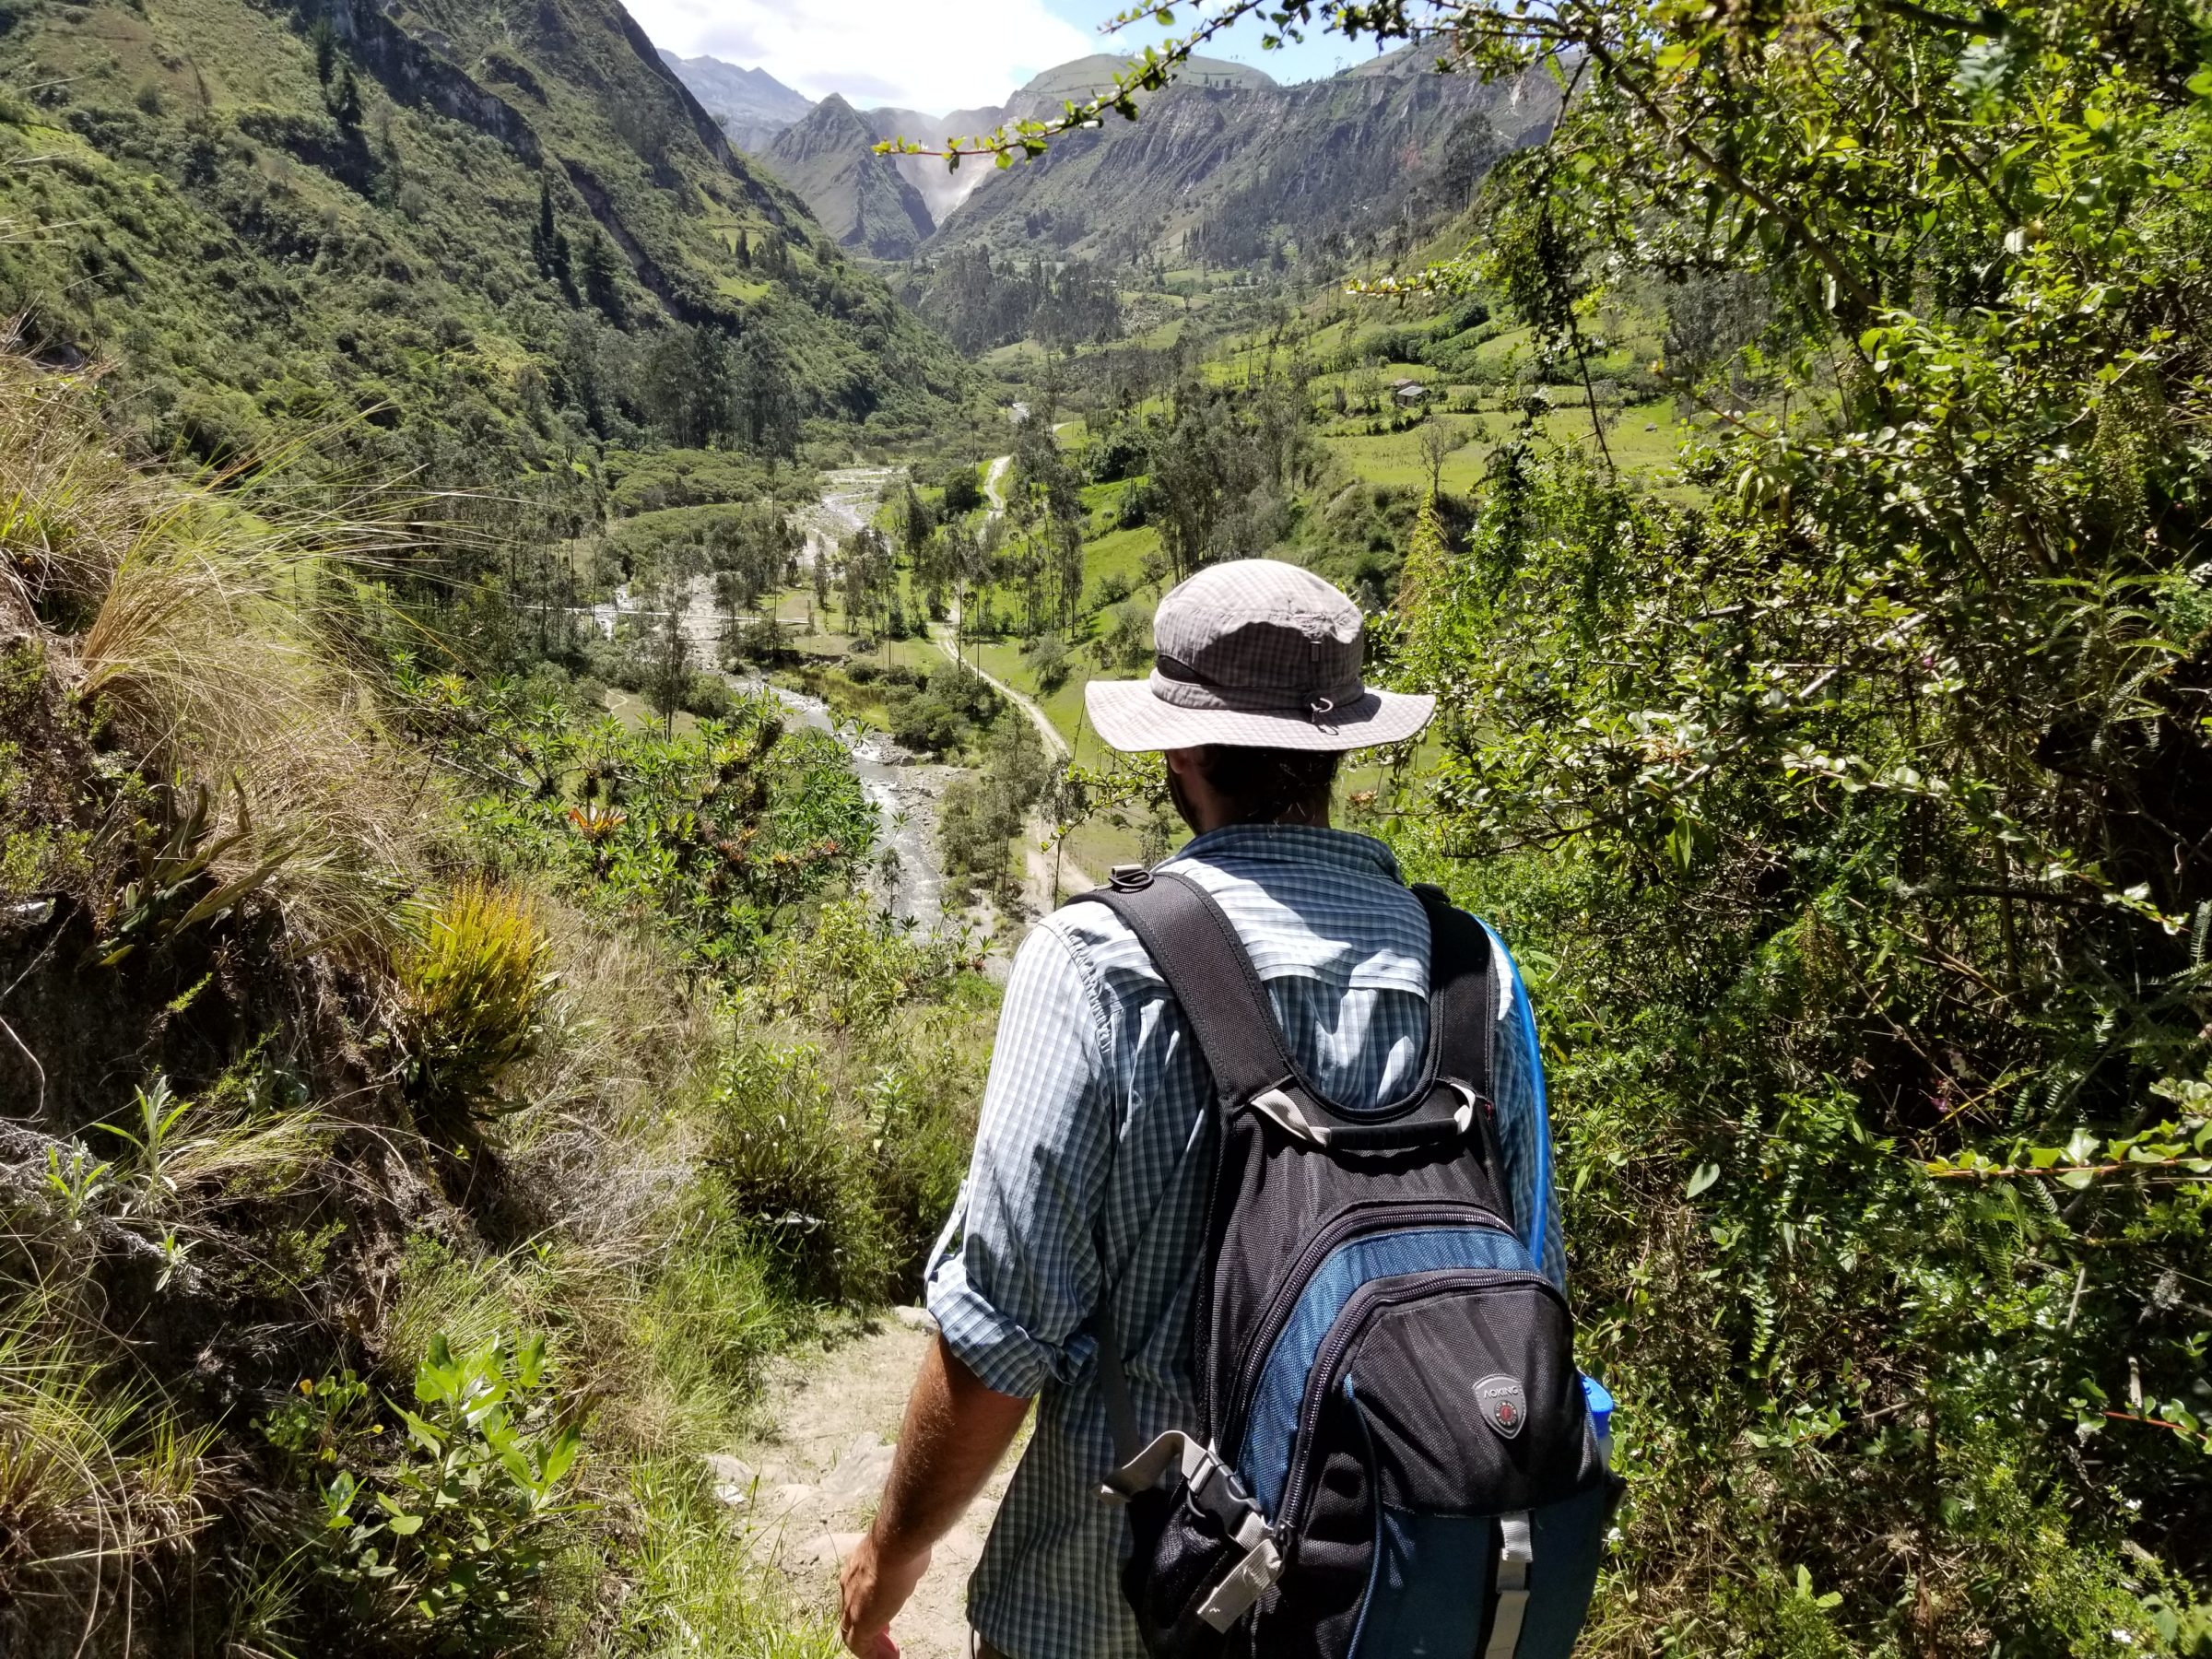
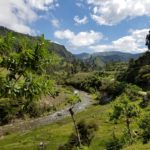
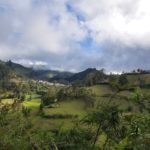
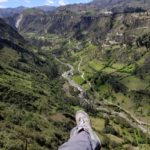
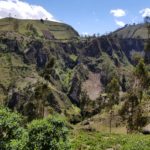
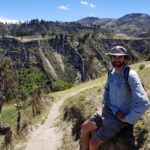
Day 2 was filled with rolling hills, steep cliffs and beautiful views. It was Sarah’s favorite hiking day. The hike to Chugchilan took us about 5 hours, however, at least an hour of that time was spent relaxing at miradors (viewpoints) and taking in the views.
PRO TIP: Pay attention to your map the first 5 minutes outside of Isinlivi.
The entry to the trail is easy to miss and we walked right past it.
We spent New Year's Eve in Chugchilan, Ecuador and explored the tiny town’s festivities. A narrator told stories as costumed dancers acted out the tale, and we were offered — and graciously accepted — someone’s homemade whiskey (although my father-in-law’s whiskey is better). Believe it or not, we made it to the crack of 10:30 pm before calling it a night.
The outdoor party near the town square continued well-past sunrise, until the sun peaked its morning beams over the mountainside.
Chugchilan Hostels
Cloud Forest $15 per person for a private room with in-suite bathroom, breakfast and dinner. The room was very clean and had hammocks outside on the private patio — which we put to good use!
Hostal El Vaquero $20 per person for a private room with in-suite bathroom, breakfast and dinner.
Hiking Chugchilan to Quilotoa (Day 3)
How many curse words can you fit into a six-hour hike? I am not certain. What I do know, is if there was a navy on the Quilotoa loop, Sarah would have made them blush.
There are days while traveling when you just want to read in a hammock. Sarah was tired and wanted one of those days. It was also really windy, which worried her — was it going to make today’s hike more difficult than usual? But alas, we were slated to leave for Santiago, Chile soon and needed to stick to our three-night plan.
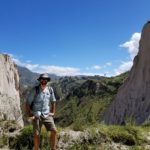
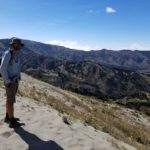
Day 3’s hike was beautiful but challenging. With tired legs and something between a windburn and a sunburn, we reached the rim of Quilotoa crater and were taken aback — not only by the view, but by the pummeling of the wind. Sarah was taken by surprise and blown about four feet away when she first walked to the edge of the crater. Tread surefootedly and be especially careful if you are hiking solo.
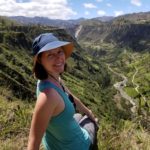
I am very lucky to have a courageous spouse who seeks out and conquers thrilling quests like the Quilotoa loop in Ecuador.
Quilotoa Hostels:
When we first arrived, I stopped in and talked to the owners of six hostels in Quilotoa. One didn’t have hot water, another didn’t serve food, one smelled like sewage, and another was sold out. This left us with two options:
The hostel we chose (no website and not on google maps) We wound up staying at the first hostel on your right when entering Quilotoa from the trail. You enter the family’s home and hostel through a small store. They have three private rooms with in-suite bathrooms. $15 per person includes dinner and breakfast.
After settling on this place to stay for the night, we realized that three friends from Chugchilan were occupying the other two rooms. Hot toddies and good conversation around a wood burning stove = priceless.
Hostal Chuckirawa This hostel was larger, warmer, and more updated than ours with a large communal area and bar. It was more expensive at $25 per person for a private room with in-suite bathroom, dinner, and breakfast.
PRO TIP: At about 12,000 ft elevation, the town of Quilotoa is cold during the day and REALLY COLD at night.
Bring warm layers and keep this in mind when choosing a place to stay for the night.
What to Pack for the Quilotoa Loop in Ecuador:
Pack as light as you comfortably can. We stored our travel packs in a secure locker in Latacunga at Hostel Sendero de Volcanes for $1 a day and took only small day packs. All hostels we stayed at had towels and soap, and every hostel had shampoo except the one in Quilotoa.
Clothes
- 1 ‘dirty’ outfit for hiking (we recommend pants)
- 1 warm ‘clean’ outfit for after your shower
- Rain jacket
- Down jacket
- Winter hat
- Gloves
- Hiking boots
Food
- 2-3 liters of water per person
- Snacks (can be purchased at each town and the $1 sandwiches from the hostels were great)
Miscellaneous
- Sunscreen
- Sun hat
- Toothbrush and toothpaste
- A book or waterproof kindle (you will have downtime in the evening or mornings and may not have good internet)
Tips for Hiking the Quilotoa Loop:
Pack as light as you can! You will be hiking at least 8 miles each day and going up and down in elevation — lighten your load to make it as enjoyable as possible.
Acclimate to a higher elevation before the hike. If you are coming from sea level, give yourself a day or two in Quito or Latacunga.
Get an early start — right after breakfast — especially if you are not an experienced hiker.
Bring cash. There are no ATMs. Food, lodging, transportation,and celebratory drinks upon completion for two people with a private room for the 4 days, 3 nights, cost us less than $120.
Download a good map on Maps.me. Download our route for free here
Take lots of pictures!
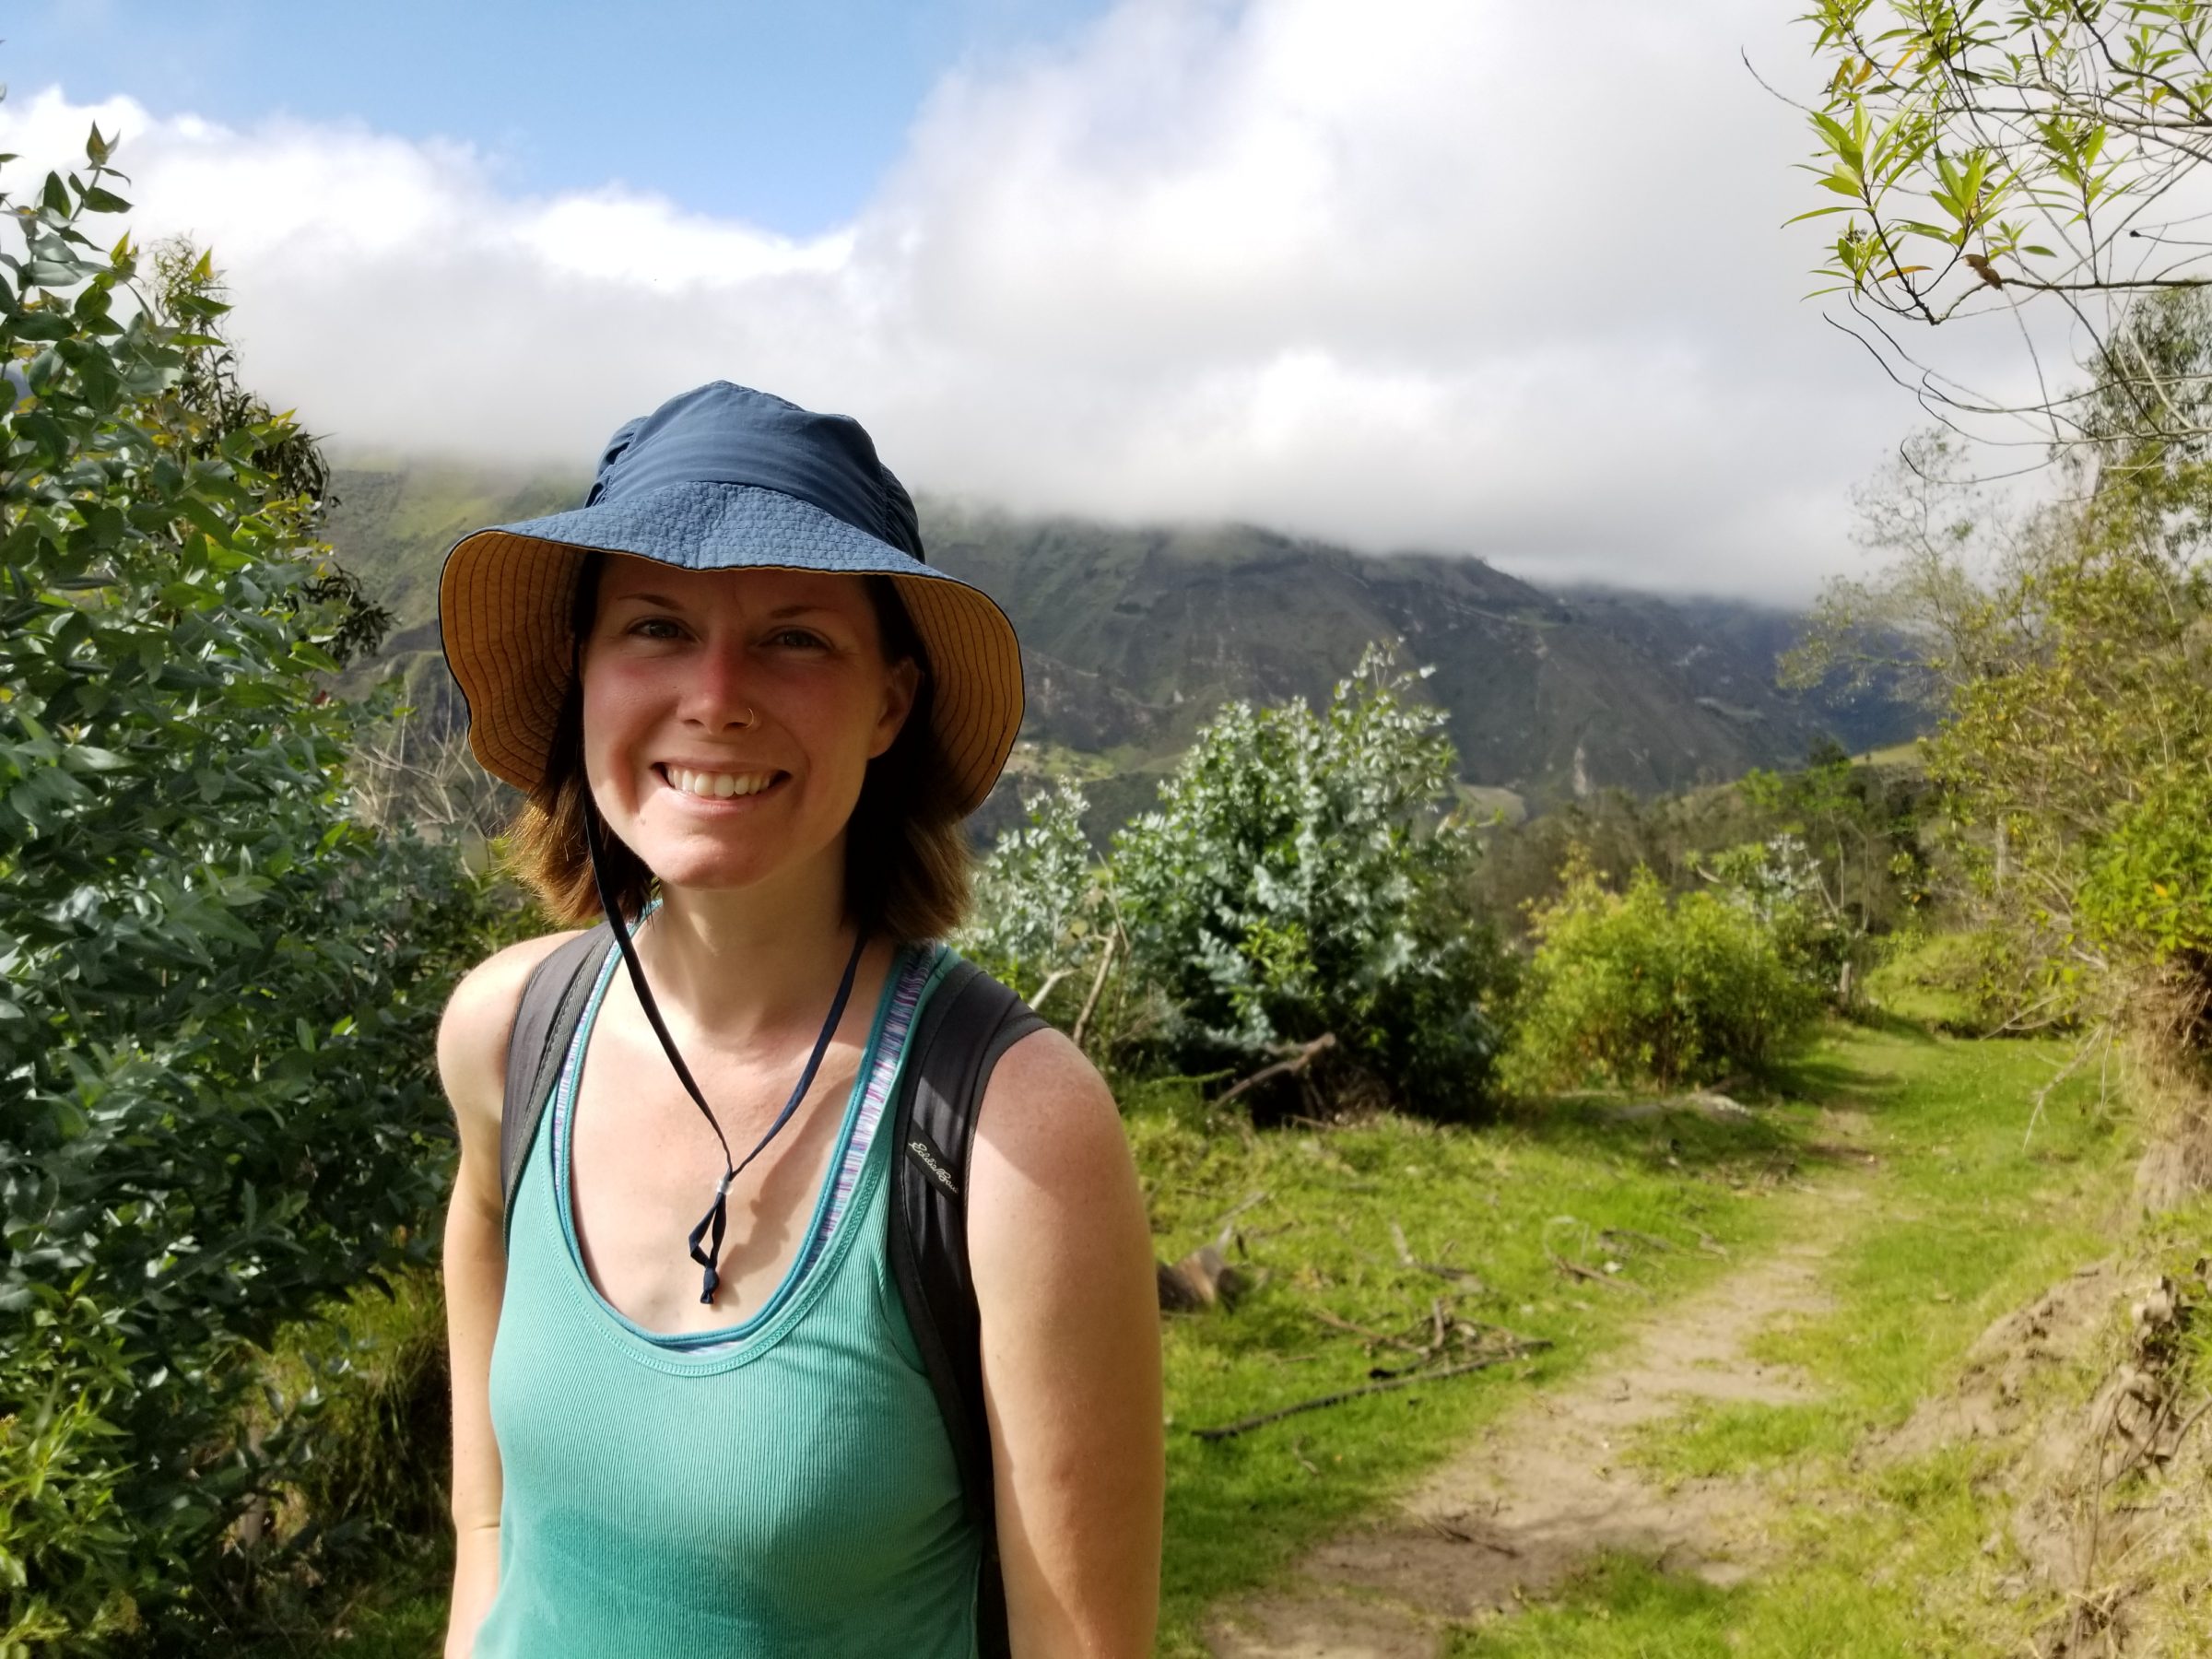
Was the Quilotoa Loop difficult? At times, yes it was. We realized that relying on one another for encouragement, support, and safety helps us to a have a comfortable, fulfilling travel adventure. While we love having a cheesy touristic time in a South American city, the great outdoors is where we feel most at home.
Hiking the Quilotoa Loop?
Pin this for later!
Wow guys, it sounds like it got super hectic for you on the day you arrived to the crater! Well done on pushing through.
Thanks Roz! It was definitely an adventure!